 |
|
|||||||||||||
|
Large
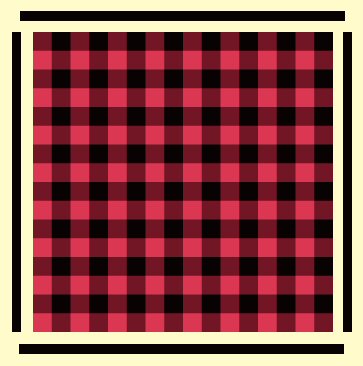
Quilt Size: 84" x 84"
*Other colours
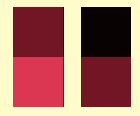
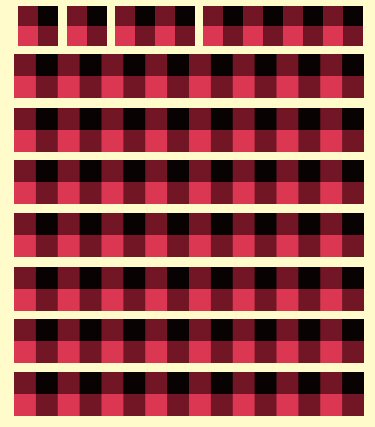
could be used - see some examples below. A Note About Your Fabric Choice: When I first started planning this quilt, I thought I would use tone on tone fabrics - and perhaps lots of them for a bit of a scrappy design...but as you can see from the examples below,they change the design, and only the solid fabric version (above) brings out the basic plaid design. Of course you may like the other versions more, which is why I decided to share the examples.
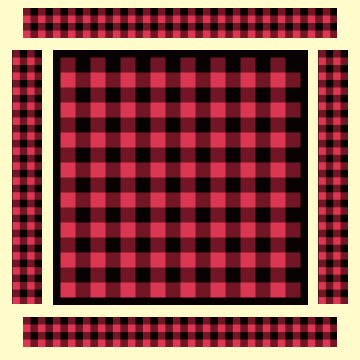
Tone-on-tone Fabrics Example
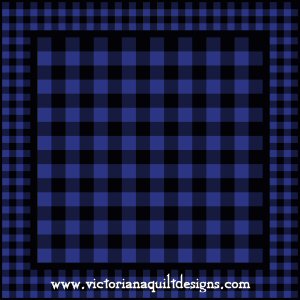
Scrappier Tone-on-tone Fabrics Example
Any instructions with [brackets], refers you to the Technique Page in the Library of this site for the complete free how-tos.
~In quilting a 'strip' is the width of the fabric (WOF) cut from selvage to selvage. Two fat quarter (FQ) strips would equal one WOF strip. ~Be sure to print this web page instructions and the Fabric Key above for reference. ~ Sew a test 4 patch unit and then chain piece the remaining units.
1. Cut fabrics [Rotary Cutting].
Large Quilt:
Small Quilt: 2. For the center of the quilt, sew strip sets from the largest strips of fabric [Strip Piecing], as illustrated.
Strip Set 1 Layout - Fabric C + B
Strip Set 2 Layout - Fabric B + A Cut the strip sets down into smaller units: Large Quilt: 64-4½" x 8½" Small Quilt: 64-3½" x 6½" 3. Lay out the units, as illustrated.
Unit Layout Sew [Machine Piecing] the units together, as instructed: ~Sew the pairs together into 64-4 Patch units, matching the seams (*See the pinning tip below).
Large Center 4-Patch Unit Unfinished size of
the center 4 Patch units Finished size of the
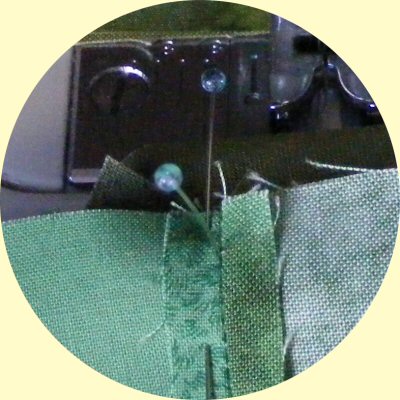
center 4 Patch units *Perpendicular
Pinning Tip: Place a pin in each seam of both the
rows you are joining. Don't anchor them. Hold the pin perpendicular
(90*) with your first two fingers (underneath) and your thumb on top.
Now place an anchor pin (going in at an angle) beside it. Remove the
perpendicular pin after you've anchored it. Do the same for the other
seams along the row, aligning the raw edges at the top.
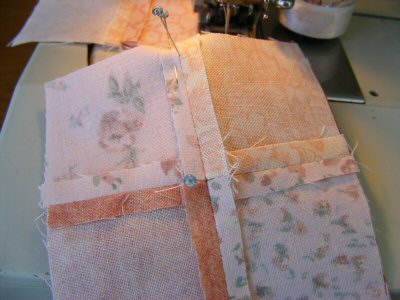
When joining 4 Patch blocks, adding an extra pin through the center of both blocks, before you add the anchor pin, is also helpful. Example:
4. Sew the 4 Patch units into pairs, until you have 8 rows of 8 units, as illustrated. ~Match the seams as before.
5. Sew the 8 rows together, matching the seams.
Unfinished size of
the center of the quilt 6. Cut and piece the small border Fabric A strips [Border Basics], to get the small border lengths required, as instructed below.
Large Quilt:
Small Quilt: 3. Sew the border [Plain Border] to the center quilt top.
Trim the small plain
border as instructed. 7. For the outer border of the quilt, sew strip sets from the remaining small strips of fabric [Strip Piecing], as illustrated.
Strip Set 1 Layout - Fabric C + B
Strip Set 2 Layout - Fabric B + A Cut the strip sets down into smaller units: Large Quilt: 152-2½" x 4½" Small Quilt: 152-2" x 3½" 8. Lay out the units, as illustrated.
Unit Layout Sew [Machine Piecing] the units together, as instructed: ~Sew the pairs together into 152-4 Patch units, matching the seams.
Small Border 4-Patch Unit Unfinished size of
the border 4 Patch units Finished size of the
border 4 Patch units 9. Lay out the units into the four borders (see guide below). Each Side Border: 17-4
Patch units long by 2 units wide = 34 units Sew the units together into borders, matching the seams. 10. Sew the border [Pieced Scrap Border - #3] to the quilt top.
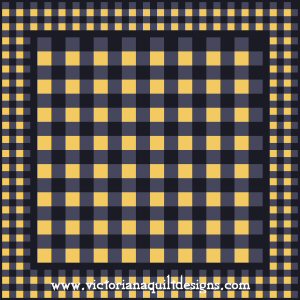
General instructions for Finishing Your Quilt can be found on the Technique Page in the Library of this site. ~Other Colour Options~
~~~
Sign Up for the newsletter to receive the notice when the newest Block of the Month is posted. The information you send is for our files only!
|
||||||||||||||
|
Content & Graphics © 2001~ Victoriana Quilt Designs All rights reserved. Unauthorized use is strictly prohibited. Welcome | Victoriana Quilters | Block of the Month | Pattern Page | Library | Membership Schoolhouse | Gallery | Sharing | Feedback & Links | Card Shoppe
|

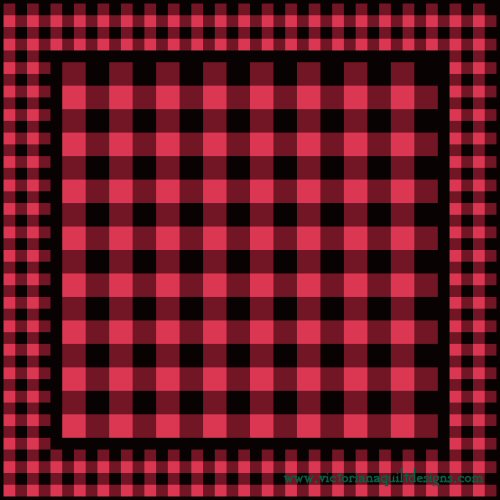
 Fabric A: Black Solid
Fabric**
Fabric A: Black Solid
Fabric**  Fabric B: Dark Red
Solid Fabric*
Fabric B: Dark Red
Solid Fabric*  Fabric C: Red Solid
Fabric*
Fabric C: Red Solid
Fabric*