 |
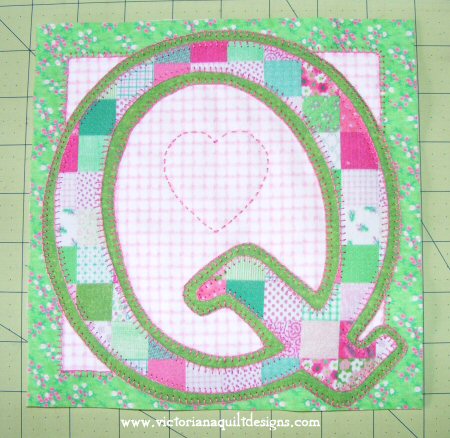
I'm celebrating the 20 Years Victoriana Quilt Designs has been online, with this sweet mini quilt tutorial!
Note: Any instructions with [brackets], refers you to the Technique Page in the Library of this site for printable free how-tos. ~~~ |
|
Mini Quilt:
8" x 8"
Light
Background Fabric - 10"
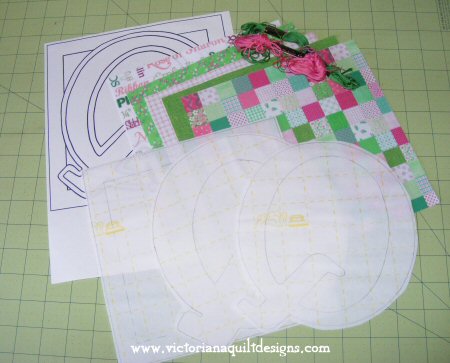
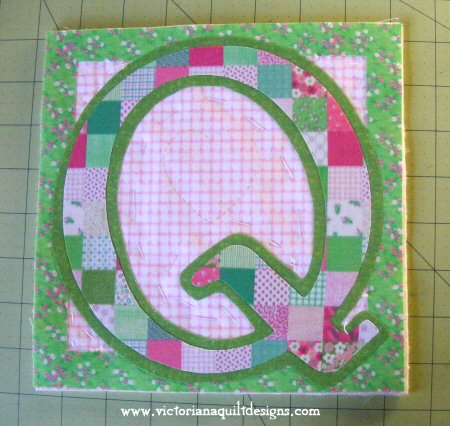
square ~~~ * If you'd like to make the Q is for Quilting Mini Quilt, with the same fabrics I used, you will find them available here. 1. Begin with making & quilting the Initial Block Tutorial, as instructed here (Steps #1 & #2 only).
Be sure to trace the quilted heart design, onto the background fabric, before basting the layers together.
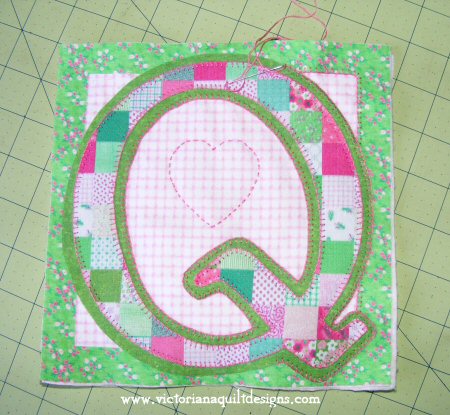
2. Quilt the layers
together by quilting the heart, using 3 strands of embroidery floss.
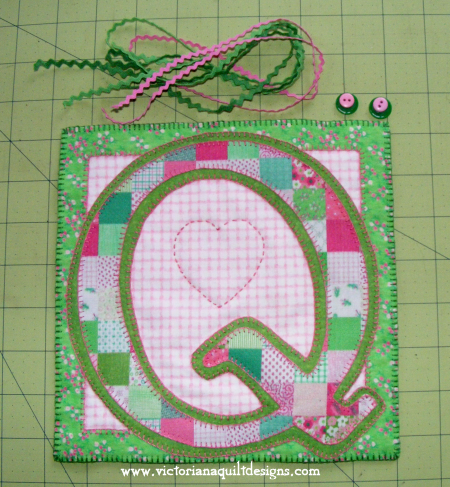
3. When quilted trim the frame to about 1" wide, through all the layers. Make sure it's square.
4. Add blanket stitching around the raw edge. Give it a final good press, placing it under a heavy book while it cools off.
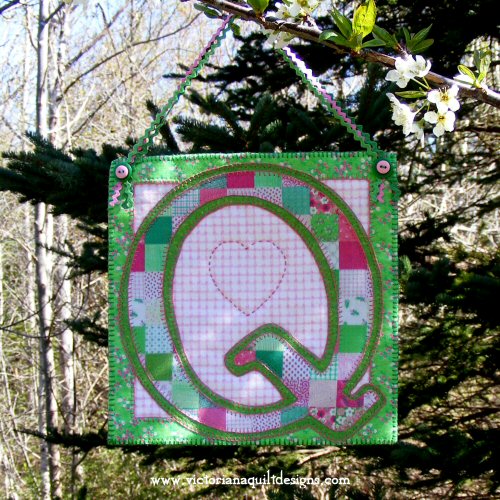
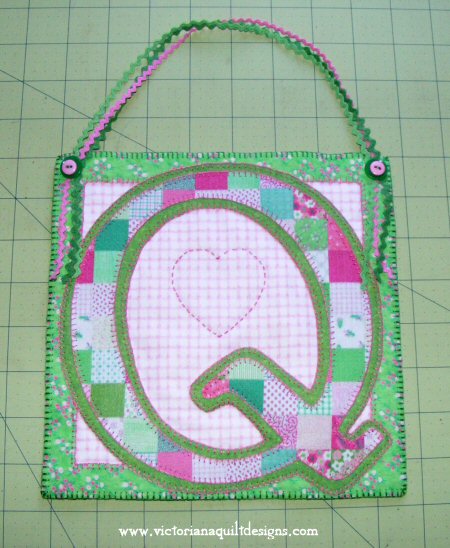
5. Stitch your ribbon/trim & buttons (as shown below), to the two top corners of the quilt, through all the layers.
Trim the ribbon tails to about 1". |
|
|
~Members Only~ Content & Graphics © 2001~ Victoriana Quilt Designs All rights reserved. Unauthorized use is strictly prohibited. Welcome | Victoriana Quilters | Block of the Month | Pattern Page | Library | Membership Schoolhouse | Gallery | Sharing | Feedback & Links
|
