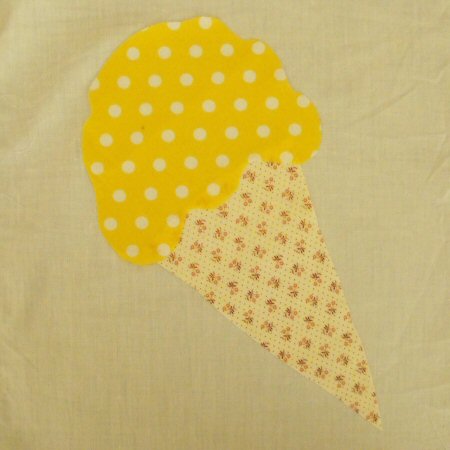
Here's a
Back Basting Appliqué Tutorial with Pattern shared
with us by Anna Branch.
Back basting
is the ideal appliqué method for those who like
to have a project to do while waiting for appointments,
watching television or riding in a vehicle.

Request
the Ice Cream Templates here

*13"
X 13" background fabric
*Small amounts of two fabrics for the appliqué
*Heavy needle such as used or darning or crewel work
*Heavy thread, black
*Appliqué needle and matching thread
*Sharp pencil (I use the retractable)
*Sharp scissors
*Toothpick or orange stick (I use a wooden skewer)
1.
Print the attached ice cream pattern and place it under
the background fabric. The reverse/wrong side of the
fabric should be on top.
Using a light box or window, trace the pattern onto
the fabric.
As the cone is ‘behind’ the ice cream, we are going
to appliqué that part of the pattern first. Cut
a piece of fabric approximately 1"
larger all around than the cone and place it on the
right side of the fabric. Hold the background fabric
and cone fabric up to a light and move the cone fabric
until it covers the cone outline. Pin in place.
2.
Using the heavy needle and thread, baste along the pencil
line that is on the wrong side of the background fabric.
3.
Trim the cone fabric outside the stitched line leaving
about 3/16" seam allowance.
4.
Using the orange stick, remove a couple of basting stitches
and turn under the seam allowance. Using the appliqué
needle and matching thread (knotted at end), stitch
the appliqué fabric. Start by bringing pushing
the needle through the background fabric and just under
and through the fold catching a few threads of the fold.
Pull needle and thread through, tucking the thread tail
under the fabric. Continue removing basting stitches
two or three at a time and sewing around the cone following
the same sewing steps.
5.
Repeat the previous steps for the ice cream fabric.
Press and trim background to 12½".
~~~
Thanks
Anna. I look forward to trying this new-to-me applique
method!


